Monday, August 30, 2010

A Tiffany Style Sweet 16 Party - Part III

I just completed the final items for the upcoming Tiffany-themed Sweet 16 party. Both of the items are appropriately related to sweets....cupcakes to be exact. The planning of this party has been going on for months - all of the events leading up to now can be found here and here.

Tayler, the birthday girl, decided to serve jumbo cupcakes for dessert. She wants to have a nice, distinctive wrapper around the base of the cupcakes. I found a ton of gorgeous wrappers that would be perfect, except for the fact that they only fit standard size cupcakes. Out of desperation I turned to the Internet and found a site where they show how to make cupcake wrappers out of doilies. So I gave it a shot ...


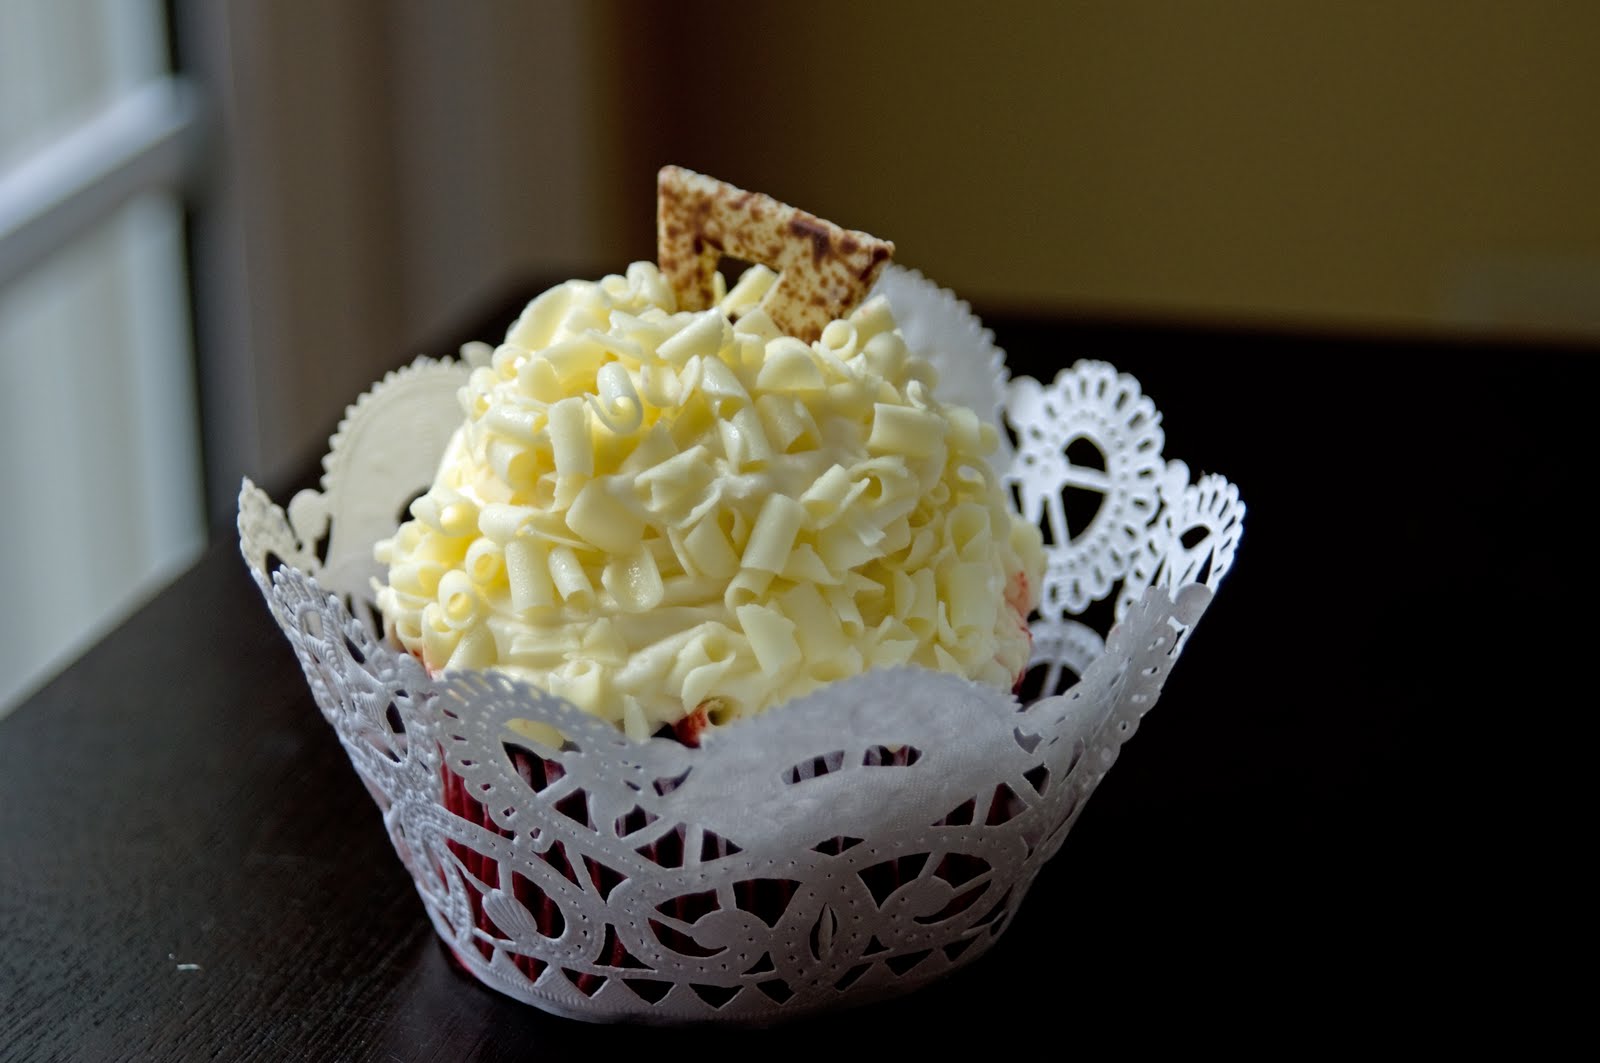
I really liked the doily option - easy to make and inexpensive. However, my husband took one look at it and stated that the doily did not fit the theme of the party. It kills me to admit that the unsolicited advice from my non-event planning husband was spot on. So, I put together another wrapper that did get his seal of approval. What do you think?


Finally, I had to figure out a way to jazz up the gigantic cupcake stand that I received looking like this:


I decided to mimic the look of the invitation by painting the stand tiffany blue and wrapping white ribbon around it.


I also added a round buckle on each tier like the buckles on the invitation...


The party is only three weeks away, so I'll post pics from the actual event soon.

Wednesday, August 25, 2010

You're Invited...

You are cordially invited to take a trip with me down memory lane. I am in the process of working on a ton of projects that have yet to be completed. So in lieu of sharing those projects with you, I pulled out some old invitations that I made for various past events.

Last year I made this invitation for a birthday party that was being held at a rock climbing facility...how cool is that? Each invitation had the guest's name written on a rock that was attached to the flat card - it's okay to be literal every once in awhile!


A few years ago I planned a 40th birthday party that was held in Las Vegas. Here's the invitation. I'd love to say more, but you know that what happens in Vegas...


This invitation was designed for a little girl's birthday party that had a music theme. My favorite paper store (Paper Source) had just come out with this new fuchsia line and I was totally obsessed with it. Truth be told, I still am!


My sons were born on the same day two years apart. Needless to say we have an outrageous joint birthday party each spring. A few years ago we had a March Madness basketball themed party. Here is the invitation - a few people thought the tickets that were included with the invite were real...oops!


Earlier this year I designed this invitation for a bedtime story themed birthday party. Check out the adorable birthday girl on the cover of the "book" - too cute!


Thanks for joining me on memory lane. Please check back for upcoming posts about my current projects!

Friday, August 20, 2010

A Fall Birthday Party

One of my dear friends is hosting a fall-themed birthday party for her soon-to-be two-year-old daughter and asked me to design the invitation. Fall is actually my favorite time of the year, but it was hard for me to start thinking about it when it's 90 degrees outside! So I decided to take the easy route and focus on the most obvious image of fall: leaves changing color.

Here is the invitation...the actual invite is printed on a flat card that is inserted into a tree enclosure:


Even though I was only asked to design the invitations, I thought it would be fun to create other fall party accessories. Here is an idea for a cupcake flag...


...and here is an idea for a favor bag. This design was inspired by an adorable Martha Stewart treat bag...


Hope this gets you excited about fall!

Sunday, August 15, 2010

Candlelight Place Cards

Here is a quick idea for place cards that are super easy to assemble and don't cost too much. All you need are candles and letter brads (these are little two-pronged fasteners that are used for scrapbooking). Here are some brads that I found at a craft store:


To assemble the place card, simply insert the brad into the side of the candle to form the guest's name and light it - you're done!


Told you they were easy to make...enjoy!


Wednesday, August 11, 2010

Back-to-School Bash

Tomorrow is the first day of school for my little guy, so I thought it would be fun to throw him a back-to-school lunch party...


I love Blumeboxes! This is my homage to those adorable flower boxes - with a crayon box twist.


For the menu board I took a chalkboard and covered it with foam paper styled after an old schoolhouse...


I used cafeteria trays that I found at the dollar store - the kids loved them! I also used a pencil box to hold the plastic utensils - definitely take advantage of those back-to-school sales!


For lunch I thought it would be appropriate to serve my son's favorite sandwich - PB & J. I tried to jazz up the sandwich stand with alphabet stickers...


I dug out my son's old plastic school bus to hold the chips. Thank goodness I found another use for this - it was going to be hard for me to part with my little guy's first bus!


For dessert I made rice crispie treats shaped like crayons. This was super easy - just add food coloring to a basic rice crispie treat recipe and then cut out the crayon shape. I printed the crayola labels from the net and attached them to cling wrap that went around the treats.


What would a back-to-school lunch party be without milk?


Everyone had a great time at lunch - this might have to become an annual event!


Tuesday, August 3, 2010

Puzzle Art

READERS BEWARE: this post has very little to do with party planning, so I hope you will indulge me. I saw the most adorable pictures in the latest Pottery Barn Kids catalog that inspired me to create some artwork. Truth be told, I am an artist-wanna-be. I appreciate art, I collect art, I’m just not that great at creating art. The PB Kids inspiration was a set of pictures in a gorgeous nursery that showed animals made out of newspaper print. Sorry no pic, but just go with me on this one – they were incredibly cute and creative. I thought it would be fun to create some of my own animals using a different part of the newspaper – the crossword puzzle.

So here are the results. Wait, let’s have some fun. Try to guess the animal based on these crossword puzzle-style clues that I spent days coming up with…

Puzzle #1: An amphibian that has permeable skin and no tail.

Puzzle #2: This flying insect is important ecologically because it is an agent of pollination.

Puzzle #3: A diverse group of reptiles that were the dominant terrestrial vertebrates for millions of years.

How did you do?

Answer #1:


Answer #2:


Answer #3:


These pictures were super easy to make. Just gather up some crossword puzzles (I bought a big book of them at the dollar store), trace the outline of the animal and then cut it out and glue it onto a picture frame mat.


That’s it – cute, easy art!


Blog Template by YummyLolly.com